White Balance: the Trick That Makes Your Photos Perfect
Reading time: 4 min.
7/01/2025
When you take a photo, have you ever noticed that the colours never look exactly the way they do to your eyes? If your images come out too cool, yellowish, or even green, it is likely that the white balance was not set correctly.
What are we talking about? One thing at a time — and above all, don’t worry about all those intimidating technical terms: in this article, we’ll explain in a simple way what white balance is and how to adjust it so you can get more natural, vibrant photos without making life too complicated.

What is white balance?
White balance is a setting that allows your camera (or smartphone) to correct colour casts that may appear in your photos because of different light sources.
For example, when you take a photo indoors under yellow light, your image may look too warm. In that case, white balance helps to neutralise those tones and make colours look more realistic.
Does this only apply to a DSLR or mirrorless camera? Of course not! If you shoot with a smartphone, white balance is already active, but sometimes it can be useful to adjust it manually to get the result you want. And don’t worry if you’ve never done it before: just a few simple tips are enough!
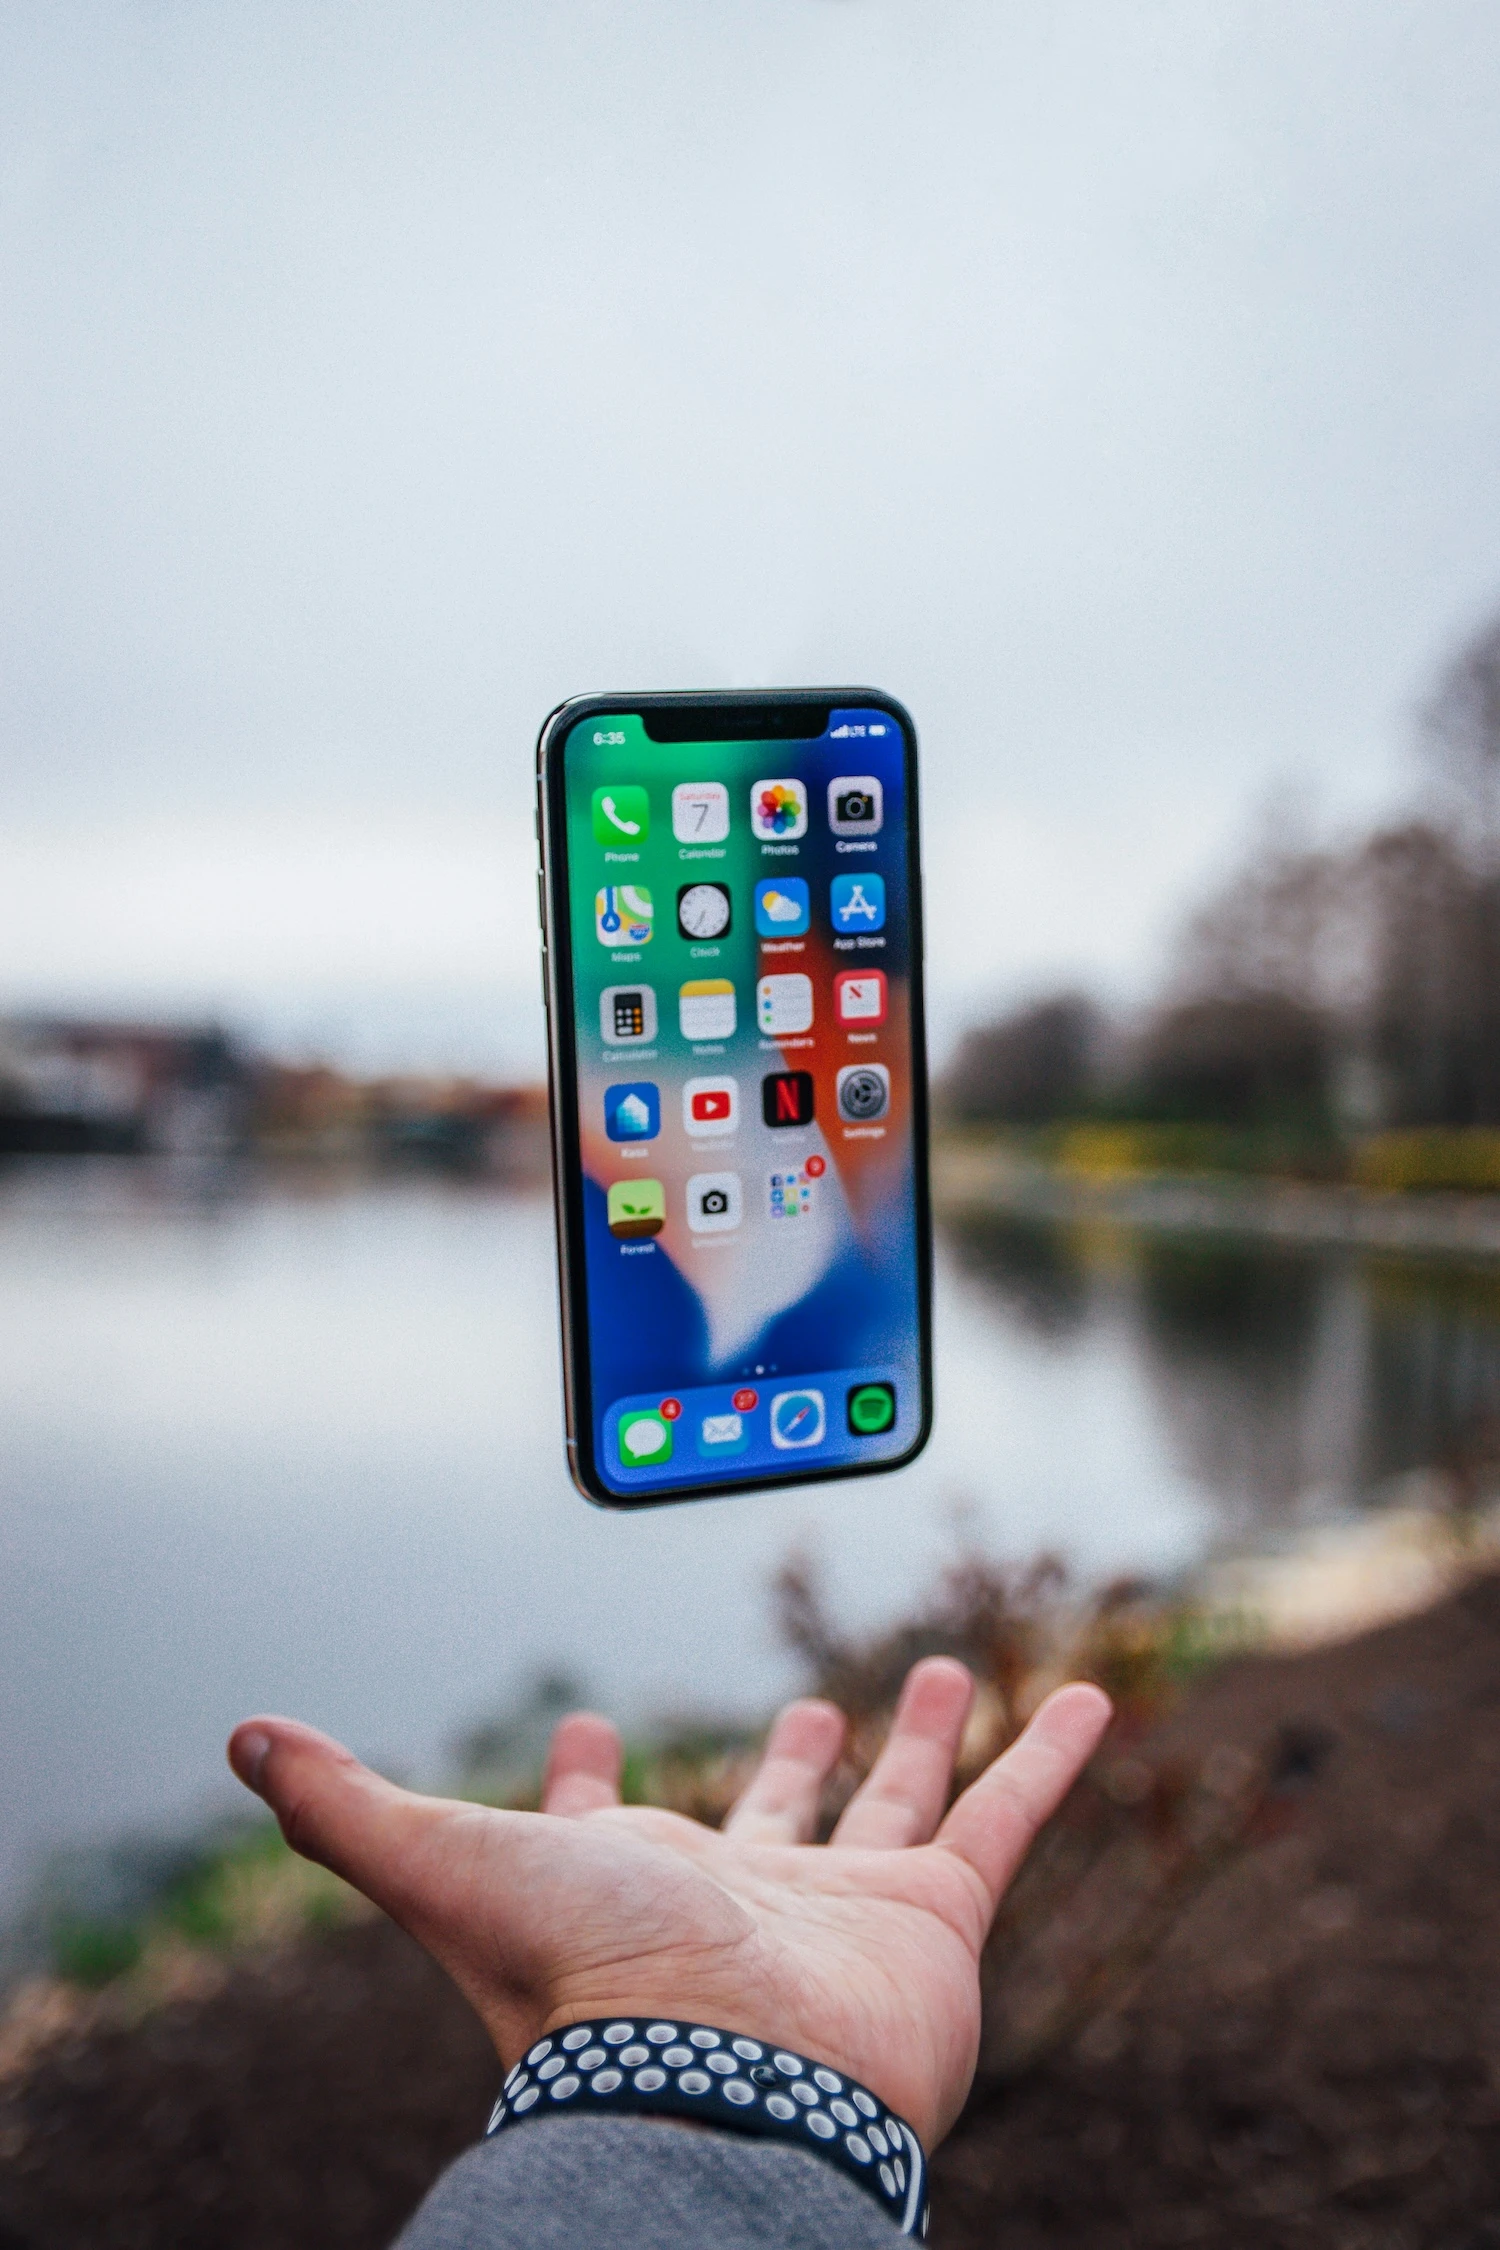
How to set white balance on a smartphone
Many modern smartphones — including the latest iPhone models — let you adjust white balance directly in the camera settings.
Of course, if you want even more precise results, you can always make further adjustments in post-production. All you need is one of the many editing apps available for smartphones.

If you choose manual white balance, this setting can be adjusted easily while you are shooting. When using professional mode — if your smartphone supports it — you can change the colour temperature. In other words, you can move towards a warmer tone — more yellow, for example — or a cooler one — leaning towards blue — depending on the type of light around you.
Keep in mind, though, that many camera apps offer preset white balance settings, such as “Daylight”, “Incandescent”, or “Fluorescent”. These can be useful if you want to avoid manual adjustments while still getting fairly natural-looking results.
Alternatively, there is post-production. If you did not set the white balance correctly while taking the photo, you can easily fix it afterwards. Apps such as Snapseed or Lightroom for smartphones let you adjust white balance after the shot has been taken. All you need to do is use the tools to correct the photo’s temperature and tint, making the colours look more natural.
When is white balance important?
White balance is especially important in challenging lighting conditions, such as when you are shooting indoors under tungsten lights, under fluorescent lamps, or at sunset. In these situations, adjusting the white balance helps prevent your photos from looking “off”, with tones that are too warm or too cool. It is also essential if you want to photograph landscapes or portraits realistically, as it helps you achieve more natural colours.

Ah… and if you’re planning to take winter photos, perhaps in the snow, why not have a look at our tips on how to photograph snow scenes in black and white?
Now, here at Album di Figurine, we’re making a little bet on you. 🫶
With the tips in this article, you’ll definitely be able to correct colour tones and improve the look of your images using nothing more than your smartphone!
And once you’ve captured your perfect shot, remember that you can turn it into a personalised sticker album with Album di Figurine!
More news from the world of figurines

No More Boomer Selfies: 10 Creative Self-Portrait Ideas That Actually Slay

How to Photograph the Sea with an iPhone: 7 Insider Tips

How to Photograph a Sunset with Your Phone: 5 Photo-Saving Tips

How to Photograph the Sunrise: Capture the Magic of the Morning with Your Smartphone

HDR Photos: What Does This Acronym Mean?

Stickers are good for your business

The essential guide to mountain photography
Live Photos: How They Work and Why They Can Make Your Album More Exciting

Blue Hour Guide: What It Is and How to Photograph It

7 street photography tips for beginners

How to Photograph Cats and Capture Perfectly Sweet Shots

Explore the magic of nature and take incredible forest photos

Where to Do Street Photography in Milan: Must-See Spots to Capture the City’s Essence

How to Photograph the Moon with an iPhone: 5 Tips to Dream Big!