
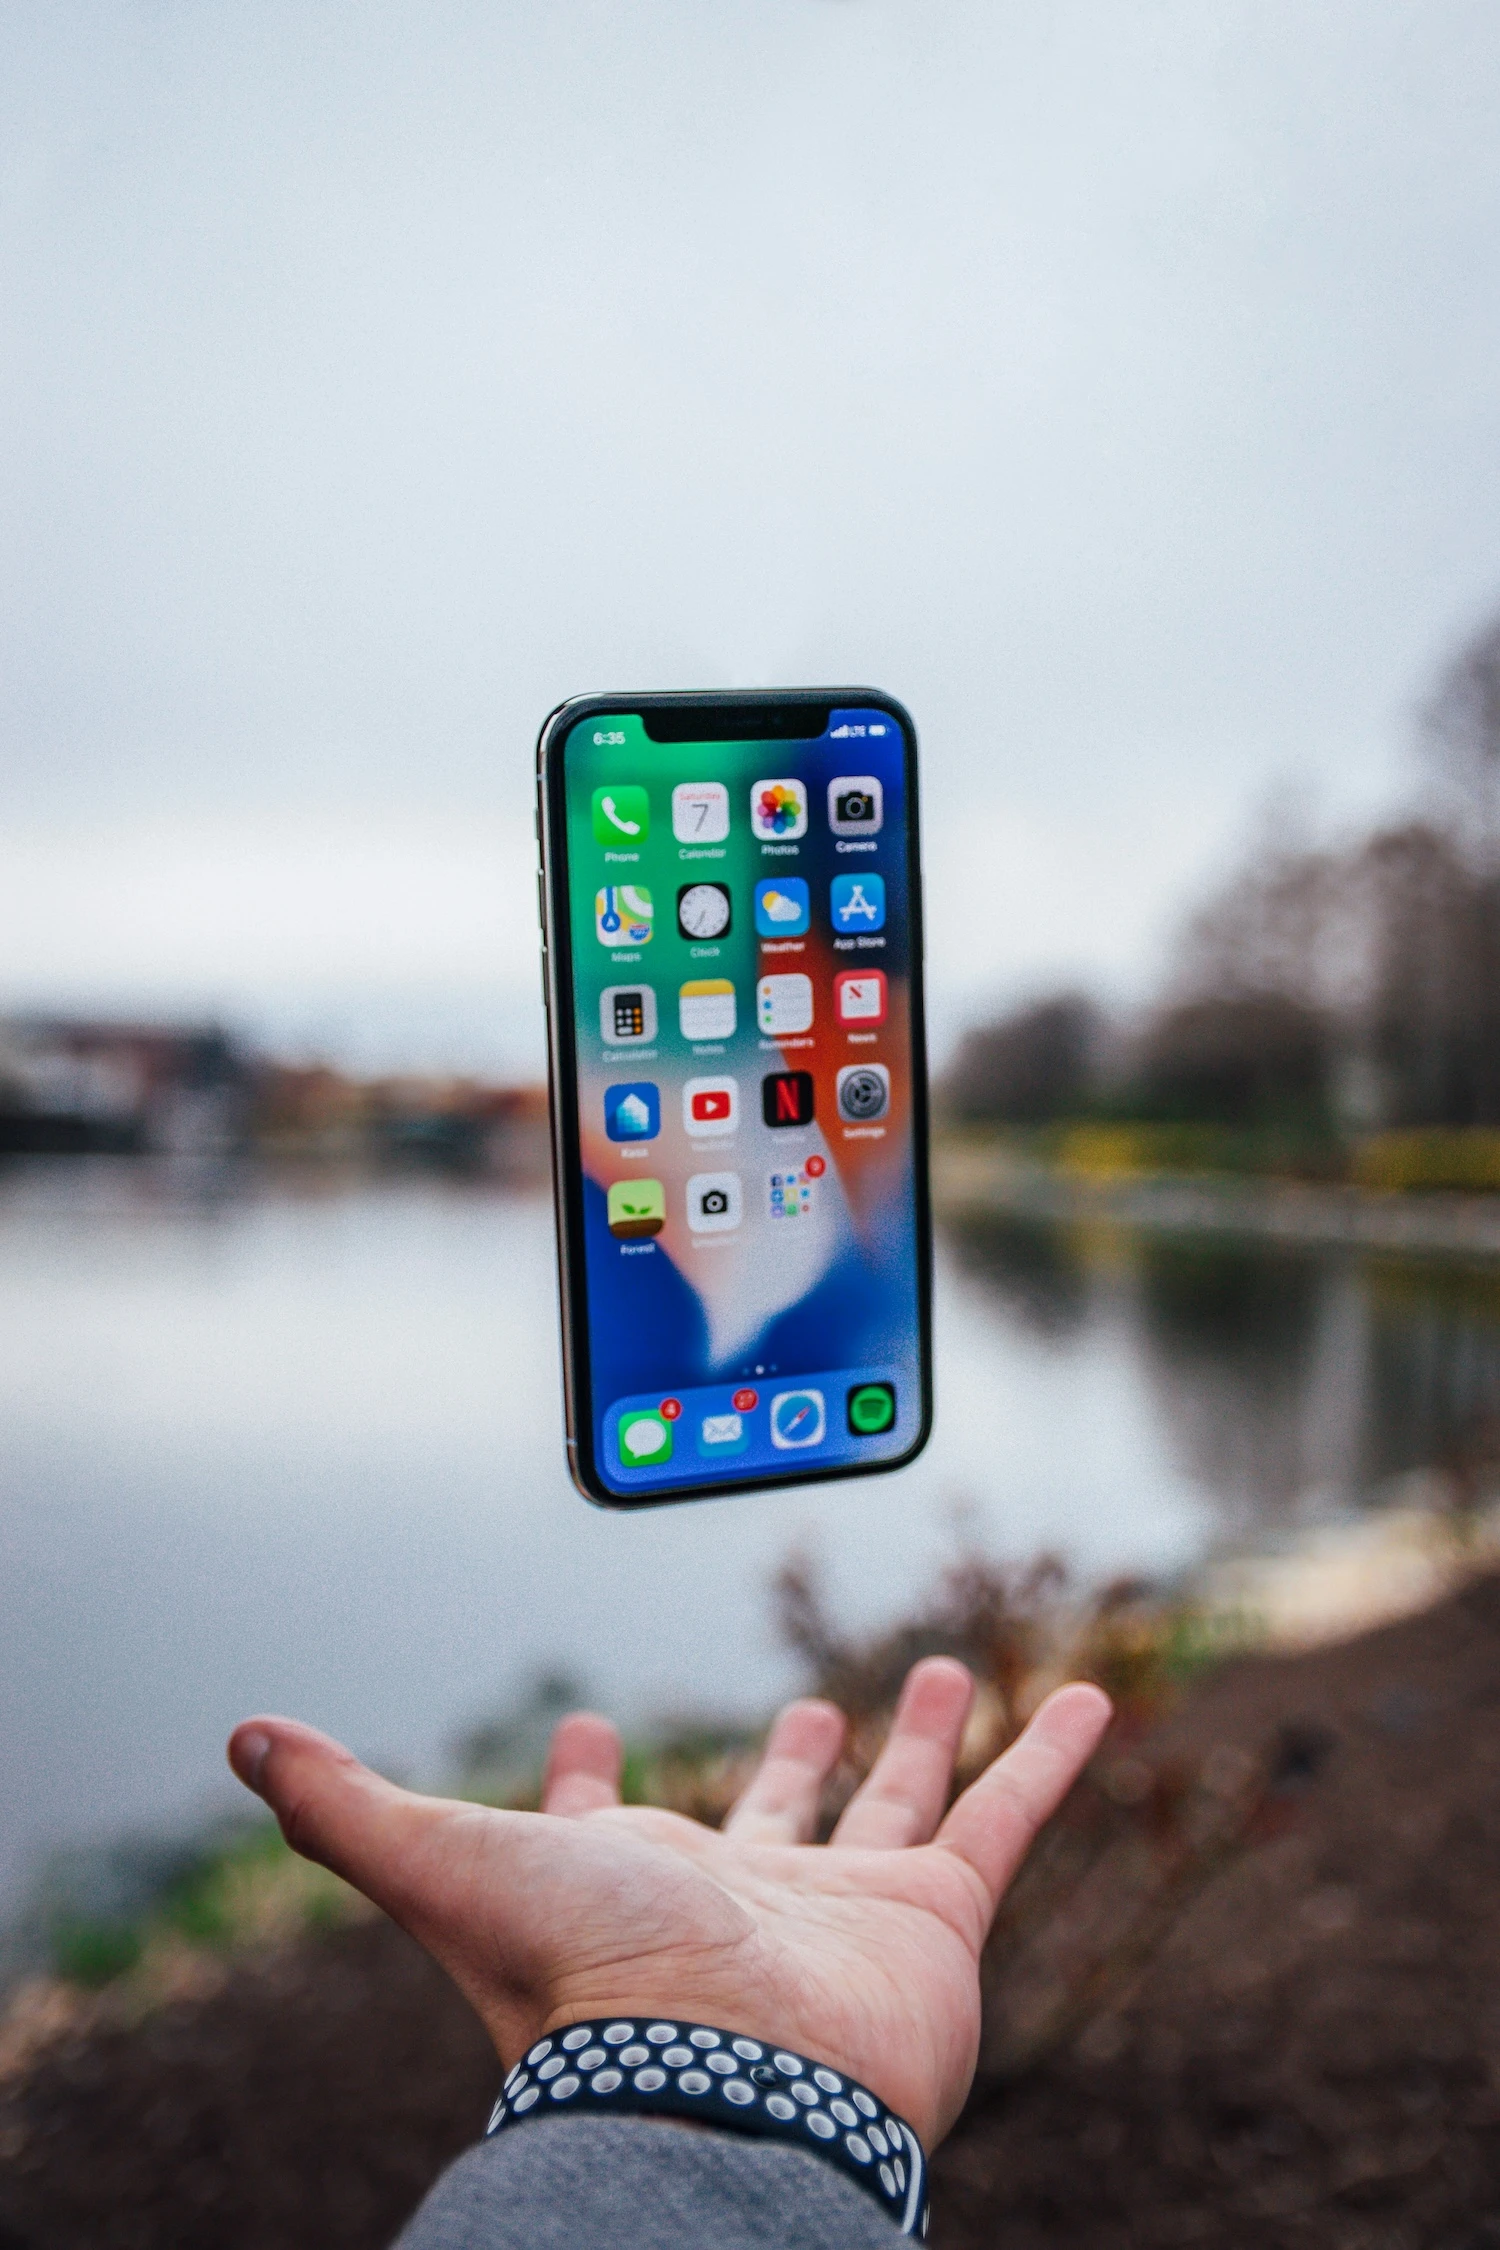
How to Photograph the Moon with an iPhone: 5 Tips to Dream Big!
Reading time: 3 min.
11/03/2024
The moon, with its timeless beauty, is a fascinating subject to capture, and the temptation to do it with your trusty iPhone is hard to resist. So how do you photograph the moon with an iPhone and get a sharp final result without losing quality?
That’s where we come in at Album di Figurine, your trusted guides for smartphone photography. In this article, we’ll reveal five secrets to help you capture the magic of the moon even in the most challenging lighting conditions. Get ready to dream big and take spectacular photos with the camera you always carry in your pocket.
1. Use the powerful tools in the built-in Camera app
If you own an iPhone, here’s some good news right away: you don’t need to download any extra apps. The default Camera app on your iPhone is powerful and versatile. Not only does it offer a handy Night mode, which activates automatically to reduce image noise, but it also includes several advanced tools worthy of a DSLR.
The trick? Learn how it works and make the most of its basic features, such as focus and exposure, to improve the moon photos you take. These simple settings will give you more control over image brightness and help you keep the moon properly in focus.
2. Find a dark place away from artificial lights
Just as when you try to photograph the stars, to get the best results you should shoot as far away as possible from city lights, or at least choose a dark, secluded spot. Ambient light, in fact, interferes with your ability to capture the moon’s sharp details and has a negative impact on the final result.
3. Avoid digital zoom like the plague
Unlike optical zoom, which provides realistic magnification, digital zoom can compromise image quality, so we recommend using it very sparingly. Instead of zooming in, try physically moving closer to your subject or crop the image later using your favourite editing app to preserve the original sharpness.

4. Get creative with night photography apps
Do you feel the built-in app isn’t enough and want something more creative? As Steve Jobs used to say, “there’s an app for that”. Open the App Store and explore the night photography apps available. Some offer advanced features and filters that can enhance your moon photos even further, giving you exactly the creative boost you were looking for.
5. Plan the ideal day for your shoot
As you probably know, the moon goes through different phases throughout the month, which means it appears differently depending on the day you choose to photograph it. So, time to check the calendar! Plan well in advance, keep an eye on the weather forecast, and choose the ideal day based on the lunar phase you want to capture and the best possible conditions.
Can you guess which phase is photographed the most? Of course — the full moon wins hands down! Did you guess right? Now that you know how to photograph the moon with your phone without losing detail or sharpness, how about turning your photos into personalised stickers? Discover our themed albums for yourself — or for truly stellar gifts.
More news from the world of figurines

How to organize a Carnival party using stickers

Original corporate events? Don’t keep your office stuck to their chairs… put them in a sticker album instead!

Blue Hour Guide: What It Is and How to Photograph It

Backlit Photography: 5 Tips for Creating Stunning Images

DIY photo album? Even better… DIY stickers!

How to add magic to your photos with the bokeh effect
Live Photos: How They Work and Why They Can Make Your Album More Exciting

5 Ideas for Decorating Your Home with Photos Using Stickers

7 street photography tips for beginners
Where to Do Street Photography in Milan: Must-See Spots to Capture the City’s Essence

8 Photo Ideas to Try at the Beach

Stickers are good for your business

A photo album for a First Communion? With stickers, it’s even more creative!

So scary: how to organise a Halloween party and take spine-chilling photos!

Tourism marketing: 5 effective strategies

5 Photo Apps to Remove the Background from Your Pictures

Explore the magic of nature and take incredible forest photos

How to Photograph Cats and Capture Perfectly Sweet Shots

The world of tiny details: a simple guide to macro photography with your smartphone

How to Photograph Your Dog: 5 Tips

How to Save Your Phone Photos to the Cloud: A Guide to Secure Backup

Autumn colours: 5 tricks for photographing foliage like a professional

White Balance: the Trick That Makes Your Photos Perfect

A personalized sticker album for every occasion

How to Photograph Food: 5 Tasty (and Useful) Tips

5 Must-Have Apps for Taking Selfies

Guide to black-and-white photography for snowy landscapes

A touch of magic for your couple photos

How to Create Football Player Stickers

How to Photograph the Stars with an iPhone: 7 Brilliant Tips

HDR Photos: What Does This Acronym Mean?

Shoot or skip? A guide to the perfect Christmas gift for photography lovers

What to Give a Friend as a Gift: 5 Personalized Ideas

How to turn a grainy photo into a masterpiece: 5 easy tips

Easy tips for taking photos in the snow

The essential guide to mountain photography

How to Photograph the Northern Lights: Capture the Essence of the Arctic

Municipality of Gordona: over 500 stickers, dozens of pages, and a story to tell

7 of the Most Photographed Cities in the World

Gift sticker albums to colleagues who are retiring

5 Artistic Couple Photo Ideas to Gift on Valentine’s Day

No More Boomer Selfies: 10 Creative Self-Portrait Ideas That Actually Slay
Where to do street photography in Rome

How to Photograph the Sunrise: Capture the Magic of the Morning with Your Smartphone

How to Photograph the Sea with an iPhone: 7 Insider Tips

How to Photograph a Sunset with Your Phone: 5 Photo-Saving Tips

How to photograph stars with your smartphone

5 original ideas for personalized football stickers

10 ideas for organizing an original baby shower

Capture the magic of the season: 7 ideas for spectacular autumn photos
